
What Happens Inside the Body During Laparoscopic Surgery – Explained Simply
Most people who’ve been told they need laparoscopic surgery have a general idea of what it involves. Small cuts. A camera. Less recovery time than traditional surgery. But ask them to describe what’s actually happening inside their body during the procedure, what the surgeon is doing, what it looks like in there, how the instruments work and most draw a blank.
That gap between “I know it’s keyhole surgery” and “I understand what’s actually happening” matters. Not because patients need to understand every surgical detail, but because understanding the broad picture of what’s happening to their body makes the experience less frightening and the recovery more understandable.
Here’s a plain-language walkthrough of what actually happens inside the body during a laparoscopic procedure from the moment the first incision is made to the moment the last port is closed.
Before Anything Happens Anaesthesia
The patient is asleep. General anaesthesia is standard for laparoscopic surgery, the patient is fully unconscious, breathing is supported by a tube, and the anaesthetic team monitors heart rate, blood pressure, oxygen levels, and depth of anaesthesia throughout.
From the patient’s side, there’s nothing. They go to sleep on the operating table and wake up in the recovery room. Everything described below happens while they’re completely unaware of it.
Step One Creating the Entry Points
The surgeon makes the first incision, typically at or just below the belly button, and usually only about one centimetre long. This is the first port site.
A port also called a trocar, is a small hollow tube with a valve at one end. Think of it as a gateway, a channel through the abdominal wall through which instruments and the camera can pass in and out without losing the working space inside. The valve at the top of the port prevents gas from escaping when instruments are changed.
Depending on the procedure, two to four additional port sites are made, each about five to twelve millimetres in size, placed at specific locations around the abdomen that give the best angle of approach to the area being operated on. For a gallbladder removal, for example, ports are placed in the upper abdomen. For a hernia repair, they’re placed lower.
Step Two Inflating the Abdomen
This is the part that surprises most people when they first hear about it. Before any surgical work can begin, the abdominal cavity needs to be inflated.
Carbon dioxide gas CO2 is pumped into the abdominal cavity through the first port until the pressure inside reaches a controlled level, typically around 12 to 15 mmHg. This inflation lifts the abdominal wall away from the organs underneath, creating a working space.
Without this inflation, the abdominal wall would sit directly on top of the organs, there would be no room to insert a camera, manoeuvre instruments, or see anything. The inflation creates the cavity the surgeon operates in.
The CO2 is warm and humidified to minimise irritation to the abdominal lining. A dedicated machine, the insufflator, continuously monitors the pressure inside and adjusts the flow to maintain a consistent working space throughout the procedure.
This is also why patients sometimes feel bloated or notice discomfort in the shoulders after laparoscopic surgery. Residual CO2 that hasn’t been fully expelled from the abdominal cavity can rise to the diaphragm, where it irritates the phrenic nerve, which shares a pain pathway with the shoulder. It passes on its own within a day or two as the gas is absorbed.
Step Three The Camera Goes In
Through the first port, the surgeon inserts the laparoscope a thin, rigid tube, typically about ten millimetres in diameter, with a high-definition camera and a light source at its tip.
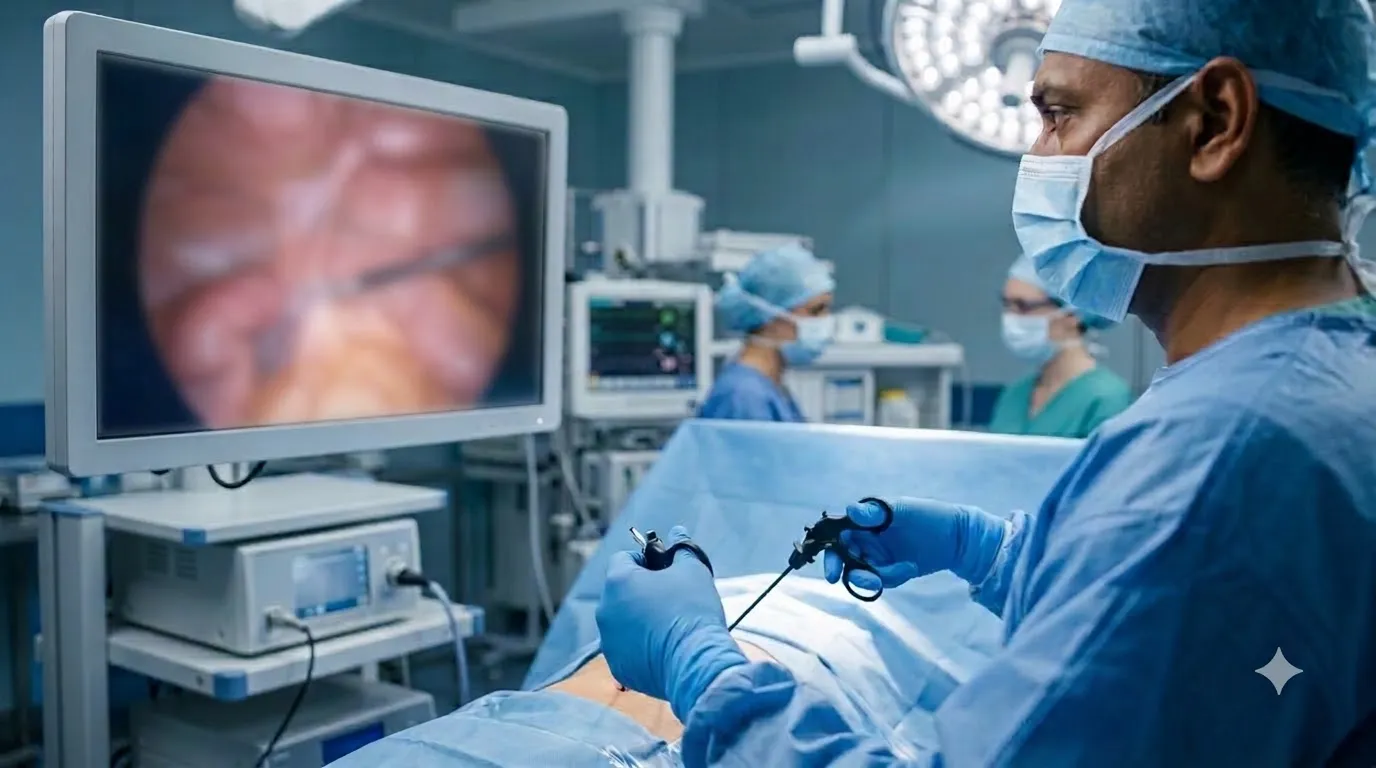
The light illuminates the inside of the abdomen. The camera captures the image and transmits it in real time to a monitor in the operating room, a high-definition screen that the surgeon and the whole operating team can see clearly.
What does the inside of the abdomen look like? Glistening, wet, and surprisingly colourful. The organs are covered by the peritoneum a smooth, shiny membrane. The liver is dark red and smooth. The bowel is pink and slightly shimmering. Fat the omentum hangs in the abdomen like a yellowish curtain. Everything is wet because the body’s internal surfaces are bathed in a thin film of fluid that keeps them from sticking together.
The surgeon orients themselves taking a moment to identify key landmarks before beginning any dissection. The camera can be angled to look around structures, tilted to change the field of view, and repositioned as needed throughout the procedure.
Step Four The Instruments Go In
Through the other port sites, the surgeon inserts the working instruments. These are long, thin instruments, typically 30 to 45 centimetres long and five to twelve millimetres in diameter, designed to pass through the ports and reach the operative field.
The range of instruments available for laparoscopic surgery is extensive. The most commonly used include:
Graspers – instruments that open and close to hold tissue, retract organs out of the way, or manipulate structures into position. The surgeon uses these to create traction and counter-traction, gently pulling in opposite directions to define tissue planes and expose the area being worked on.
Scissors – laparoscopic scissors can cut tissue and, when connected to an energy source, simultaneously seal small blood vessels as they cut.
Electrocautery hooks and spatulas – use electrical current to cut tissue and coagulate blood vessels simultaneously. The hook is one of the most commonly used instruments in laparoscopic dissection, it precisely divides tissue layer by layer while sealing the small blood vessels encountered along the way.
Clip appliers – deploy small metal or polymer clips to seal blood vessels or ducts before they’re divided. In a gallbladder removal, for example, the cystic duct and cystic artery are clipped before they’re cut, the clips remain permanently in the body without causing problems.
Staplers – laparoscopic staplers simultaneously cut tissue and apply two rows of staples on either side of the cut, sealing both ends. Used in bowel surgery, sleeve gastrectomy, and other procedures where sections of bowel or stomach are divided.
Ultrasonic and advanced energy devices – instruments like the Harmonic scalpel use ultrasonic vibration to simultaneously cut and seal tissue. They generate less heat than standard electrocautery and can seal larger blood vessels without clips, making them useful in highly vascular areas.
Suction and irrigation – a suction/irrigation device allows the surgeon to wash the operative field with saline to remove blood, debris, or spilled fluid, and then suction it away to maintain a clear view.
Needle holders – for placing sutures laparoscopically. Suturing inside the body through small ports requires significant skill, the instruments are long and the working space is constrained, but experienced laparoscopic surgeons can place sutures precisely through the monitor view.
Step Five The Actual Surgery
With the camera providing a clear view and the instruments in position, the surgeon begins the procedure itself. What happens next depends entirely on what’s being done, but the general principles are the same across procedures.
Dissection – carefully separating tissue layers to expose the structure being operated on. The surgeon uses a combination of blunt dissection, gently pushing tissue apart along natural planes and sharp dissection, cutting through tissue with scissors or energy devices. Every layer is separated carefully to avoid injuring adjacent structures.
Identification – before anything is divided, cut, or removed, it needs to be clearly identified. Surgeons follow specific protocols, like the critical view of safety in gallbladder removal, that require certain structures to be unambiguously identified before proceeding. This step is fundamental to surgical safety.
Controlling blood supply – before any organ or tissue is removed, its blood supply needs to be secured. Blood vessels supplying the target tissue are clipped, stapled, or sealed with energy devices to prevent bleeding when they’re divided. This is meticulous work, blood vessels need to be identified, isolated from surrounding tissue, and secured before cutting.
Removing the specimen – once the target tissue is freed, a gallbladder, an appendix, a hernia sac, it needs to come out. Through one of the port sites, a retrieval bag is introduced into the abdomen. The specimen is placed inside the bag, and the bag is then pulled out through the port site, sometimes requiring the port site to be slightly enlarged if the specimen is large. The bag prevents spilled contents from contaminating the abdominal cavity during removal.
Washing out – after the main surgical work is done, warm saline is irrigated around the operative field and suctioned away. This removes any blood, bile, or other fluid that has accumulated during the procedure and leaves the cavity clean before closure.
Checking the repair – the surgeon inspects the operative site to confirm haemostasis, that there’s no ongoing bleeding and that the repair or removal is satisfactory before proceeding to closure.
Step Six Coming Out
The instruments are removed from the ports. The surgeon deliberately deflates the abdomen, releasing the CO2 gas, by allowing it to escape through the open ports. Some residual gas always remains, but as much as possible is expelled to reduce post-operative shoulder discomfort.
The port sites are then closed. For larger ports, the fascial layer, the tough connective tissue layer of the abdominal wall is closed with one or two absorbable sutures to prevent a port site hernia from developing at that location. The skin is closed with sutures, skin glue, or adhesive strips depending on the site and surgeon preference.
Small dressings are applied over the port sites. The procedure is complete.
What the Body Does After
From the moment the ports are closed, the body begins its response to what’s happened.
The inflammatory response starts, immune cells arrive at the port sites, the peritoneum begins repairing itself, and the healing process gets underway. This is what produces the soreness and tenderness felt in the first days after surgery.
The CO2 gas that remains is gradually absorbed into the bloodstream over 24 to 48 hours and exhaled through the lungs, which is how the body eliminates it.
The bowel, which was handled and manipulated during the procedure, takes a day or two to resume normal motility. This is why patients sometimes feel bloated or pass excessive wind in the first couple of days. It’s the bowel waking back up.
The liver, if bile was involved (as in a cholecystectomy), begins adapting to the new drainage arrangement bile flowing directly from the liver rather than being stored and released by a gallbladder.
And under the small dressings, the port sites are quietly closing, the same healing process that heals any skin wound, just on a much smaller scale.
What Makes Laparoscopic Surgery Possible The Technology Behind It
It’s worth pausing to appreciate how much technology makes this all possible. A generation ago, everything described above required a large incision. The ability to do it through ports the width of a finger comes from several decades of development in camera technology, imaging, energy devices, and instrument design.
High-definition and increasingly 4K cameras provide a view of the operative field that’s actually clearer than what a surgeon sees with the naked eye in open surgery. The magnification reveals anatomical details that can be hard to see at natural scale.
The energy devices available now can seal blood vessels that previously required sutures or clips, speeding procedures and reducing blood loss. Staplers that simultaneously cut and seal tissue in two rows allow bowel to be divided safely in seconds.
And the surgeons who use these tools train extensively in laparoscopic technique using simulators, box trainers, and supervised operative experience, because operating through a monitor with long instruments requires a specific set of skills that are different from open surgery, and those skills take time and practice to develop.
Final Thoughts
Laparoscopic surgery is sophisticated and precise, but the basic concept is straightforward. Create a working space inside the abdomen, insert a camera to see, insert instruments to work, perform the procedure under magnified vision on a monitor, and close the small entry points when done.
Understanding this doesn’t require a medical degree. It just requires someone to explain it without assuming the patient either knows everything or needs to know nothing.
Our surgical team believes that an informed patient has a better surgical experience, because they understand what’s happening, what to expect, and why the recovery feels the way it does. If you’ve been recommended laparoscopic surgery and want to understand the procedure specific to your situation, come in for a consultation.